目录
使用label-studio半自动标记yolo数据集
最近在做yolo物体识别,需要标记很多图片,开始是用labelImg标记,但是在标记过程中,经常需要增加标签或者增加新的图片,很多时候是在重复标记,所以就想有没有办法,通过已经训练好的模型自动标记,自己只需要做新的标记和调整。
后面查了下相关资料,发现labelImg的升级版label-studio正好满足我的要求,以下是在做的过程中的相关记录。
安装label-studio和简单使用
在docker中安装
shelldocker pull heartexlabs/label-studio:latest
docker run -it -p 8080:8080 -v $(pwd)/mydata:/label-studio/data heartexlabs/label-studio:latest
# 后台运行
docker run -d -p 8080:8080 -v $(pwd)/mydata:/label-studio/data heartexlabs/label-studio:latest
通过pip安装
shell# Requires Python >=3.8
pip install label-studio

# Start the server at http://localhost:8080
label-studio
创建yolo标注项目
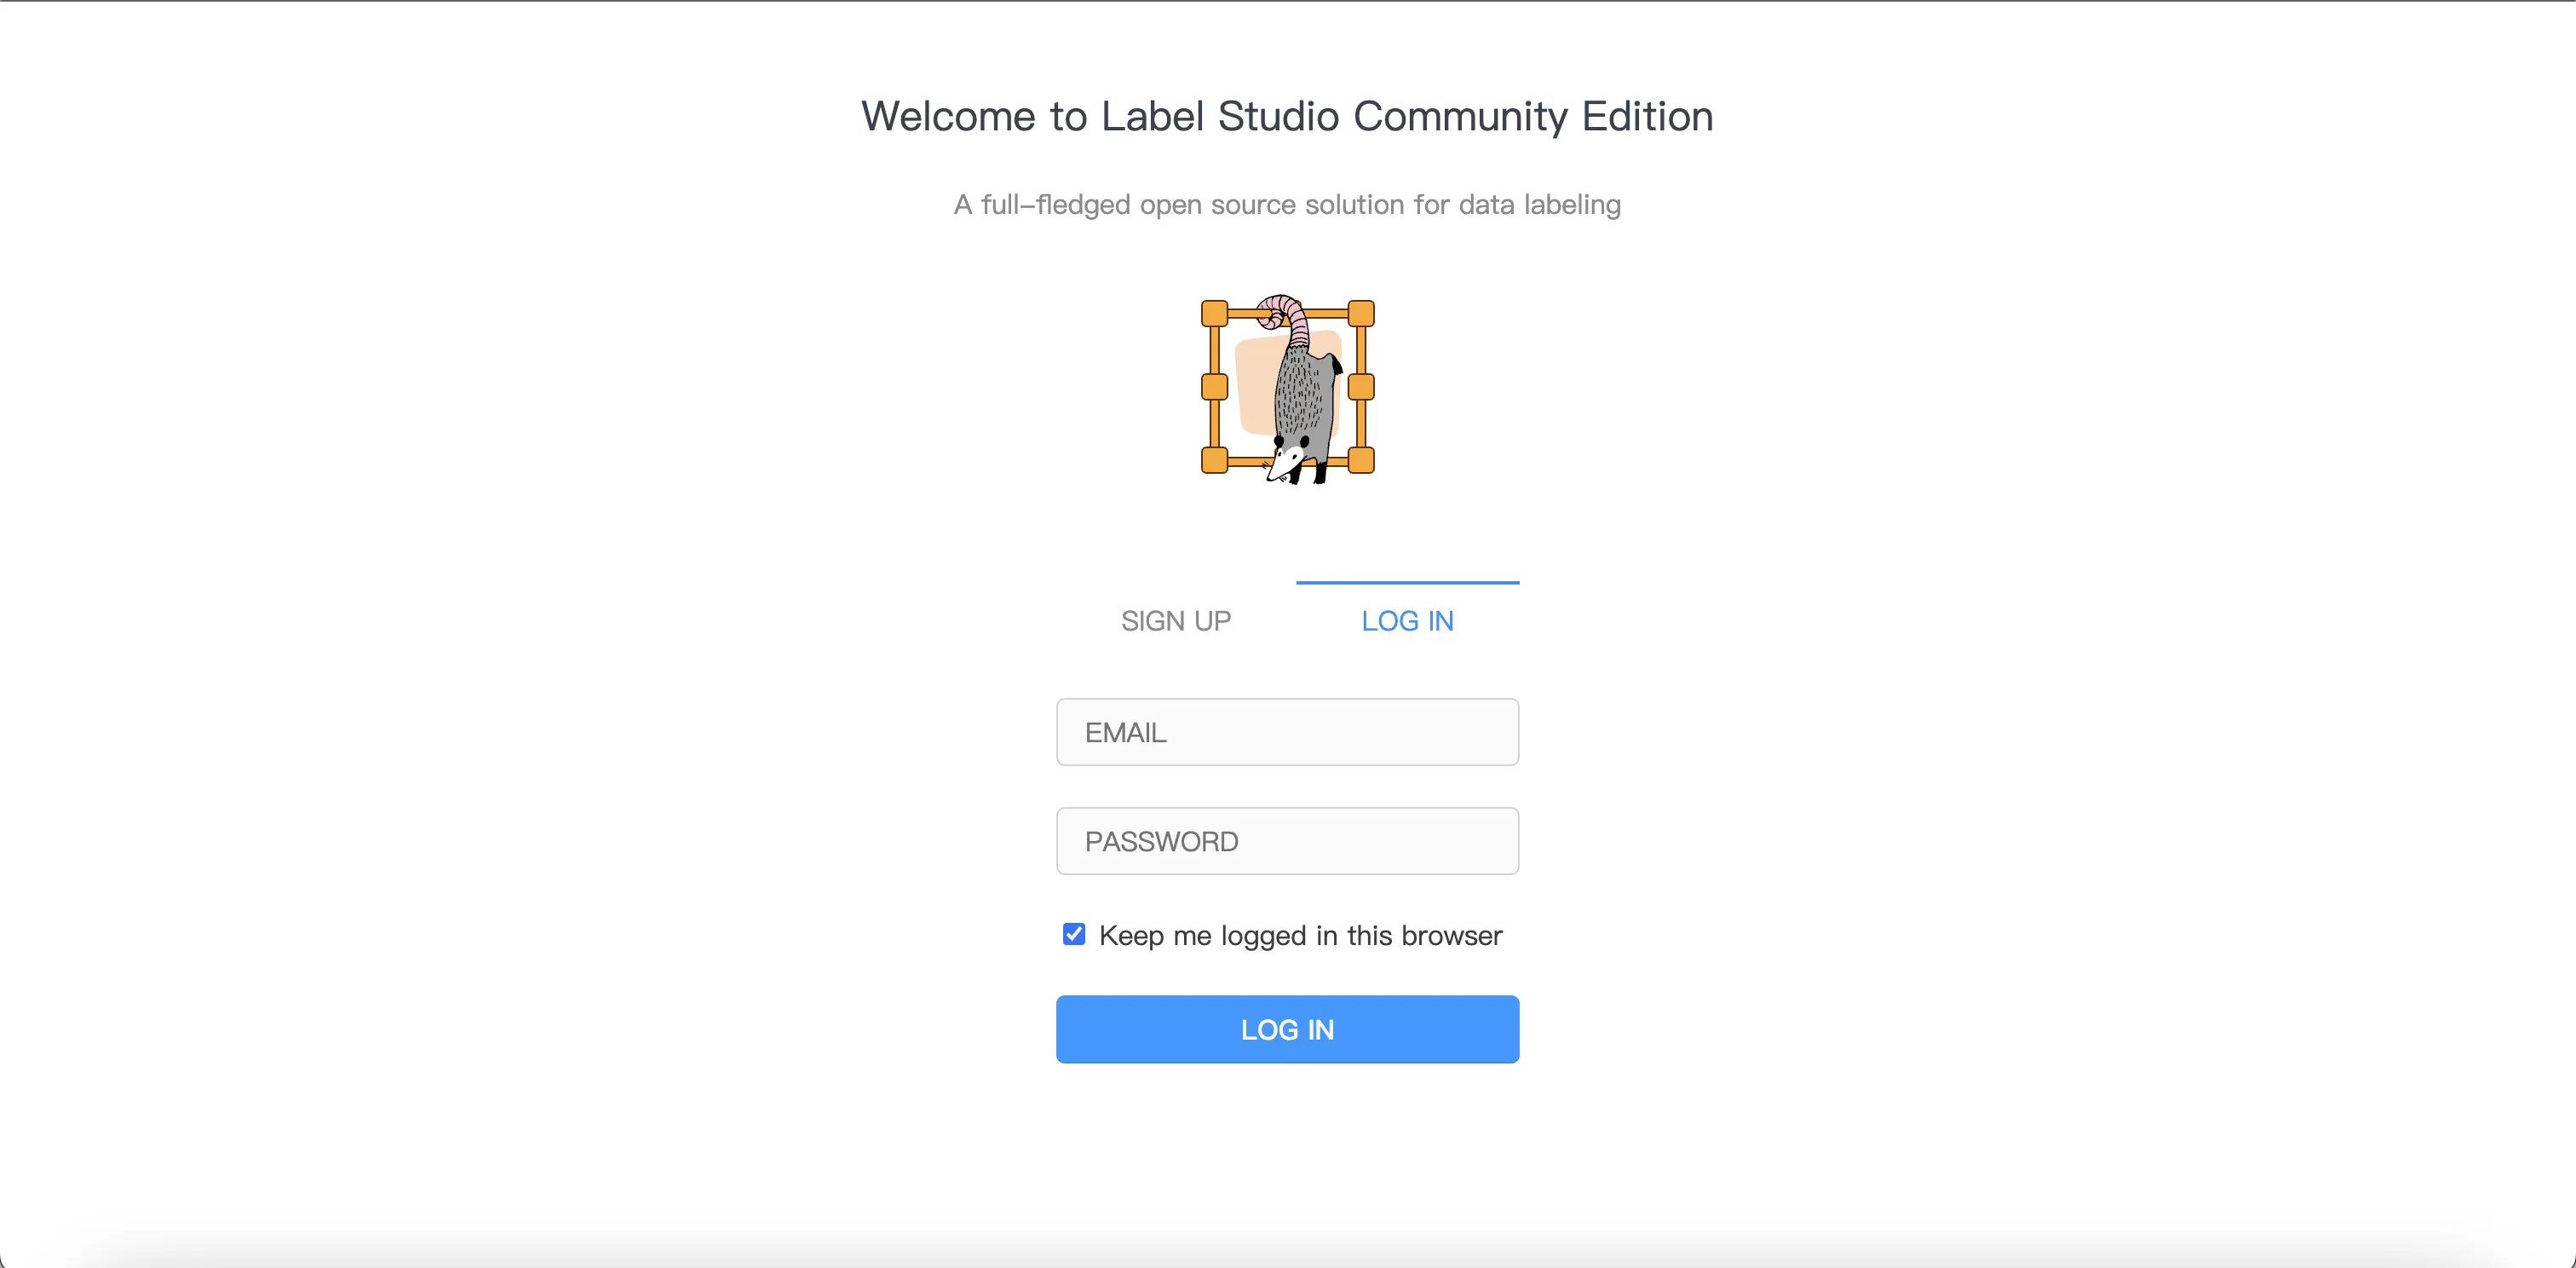
安装完成后,打开地址http://localhost:8080 ,打开此界面则安装成功,首先需要注册一个账号然后登陆
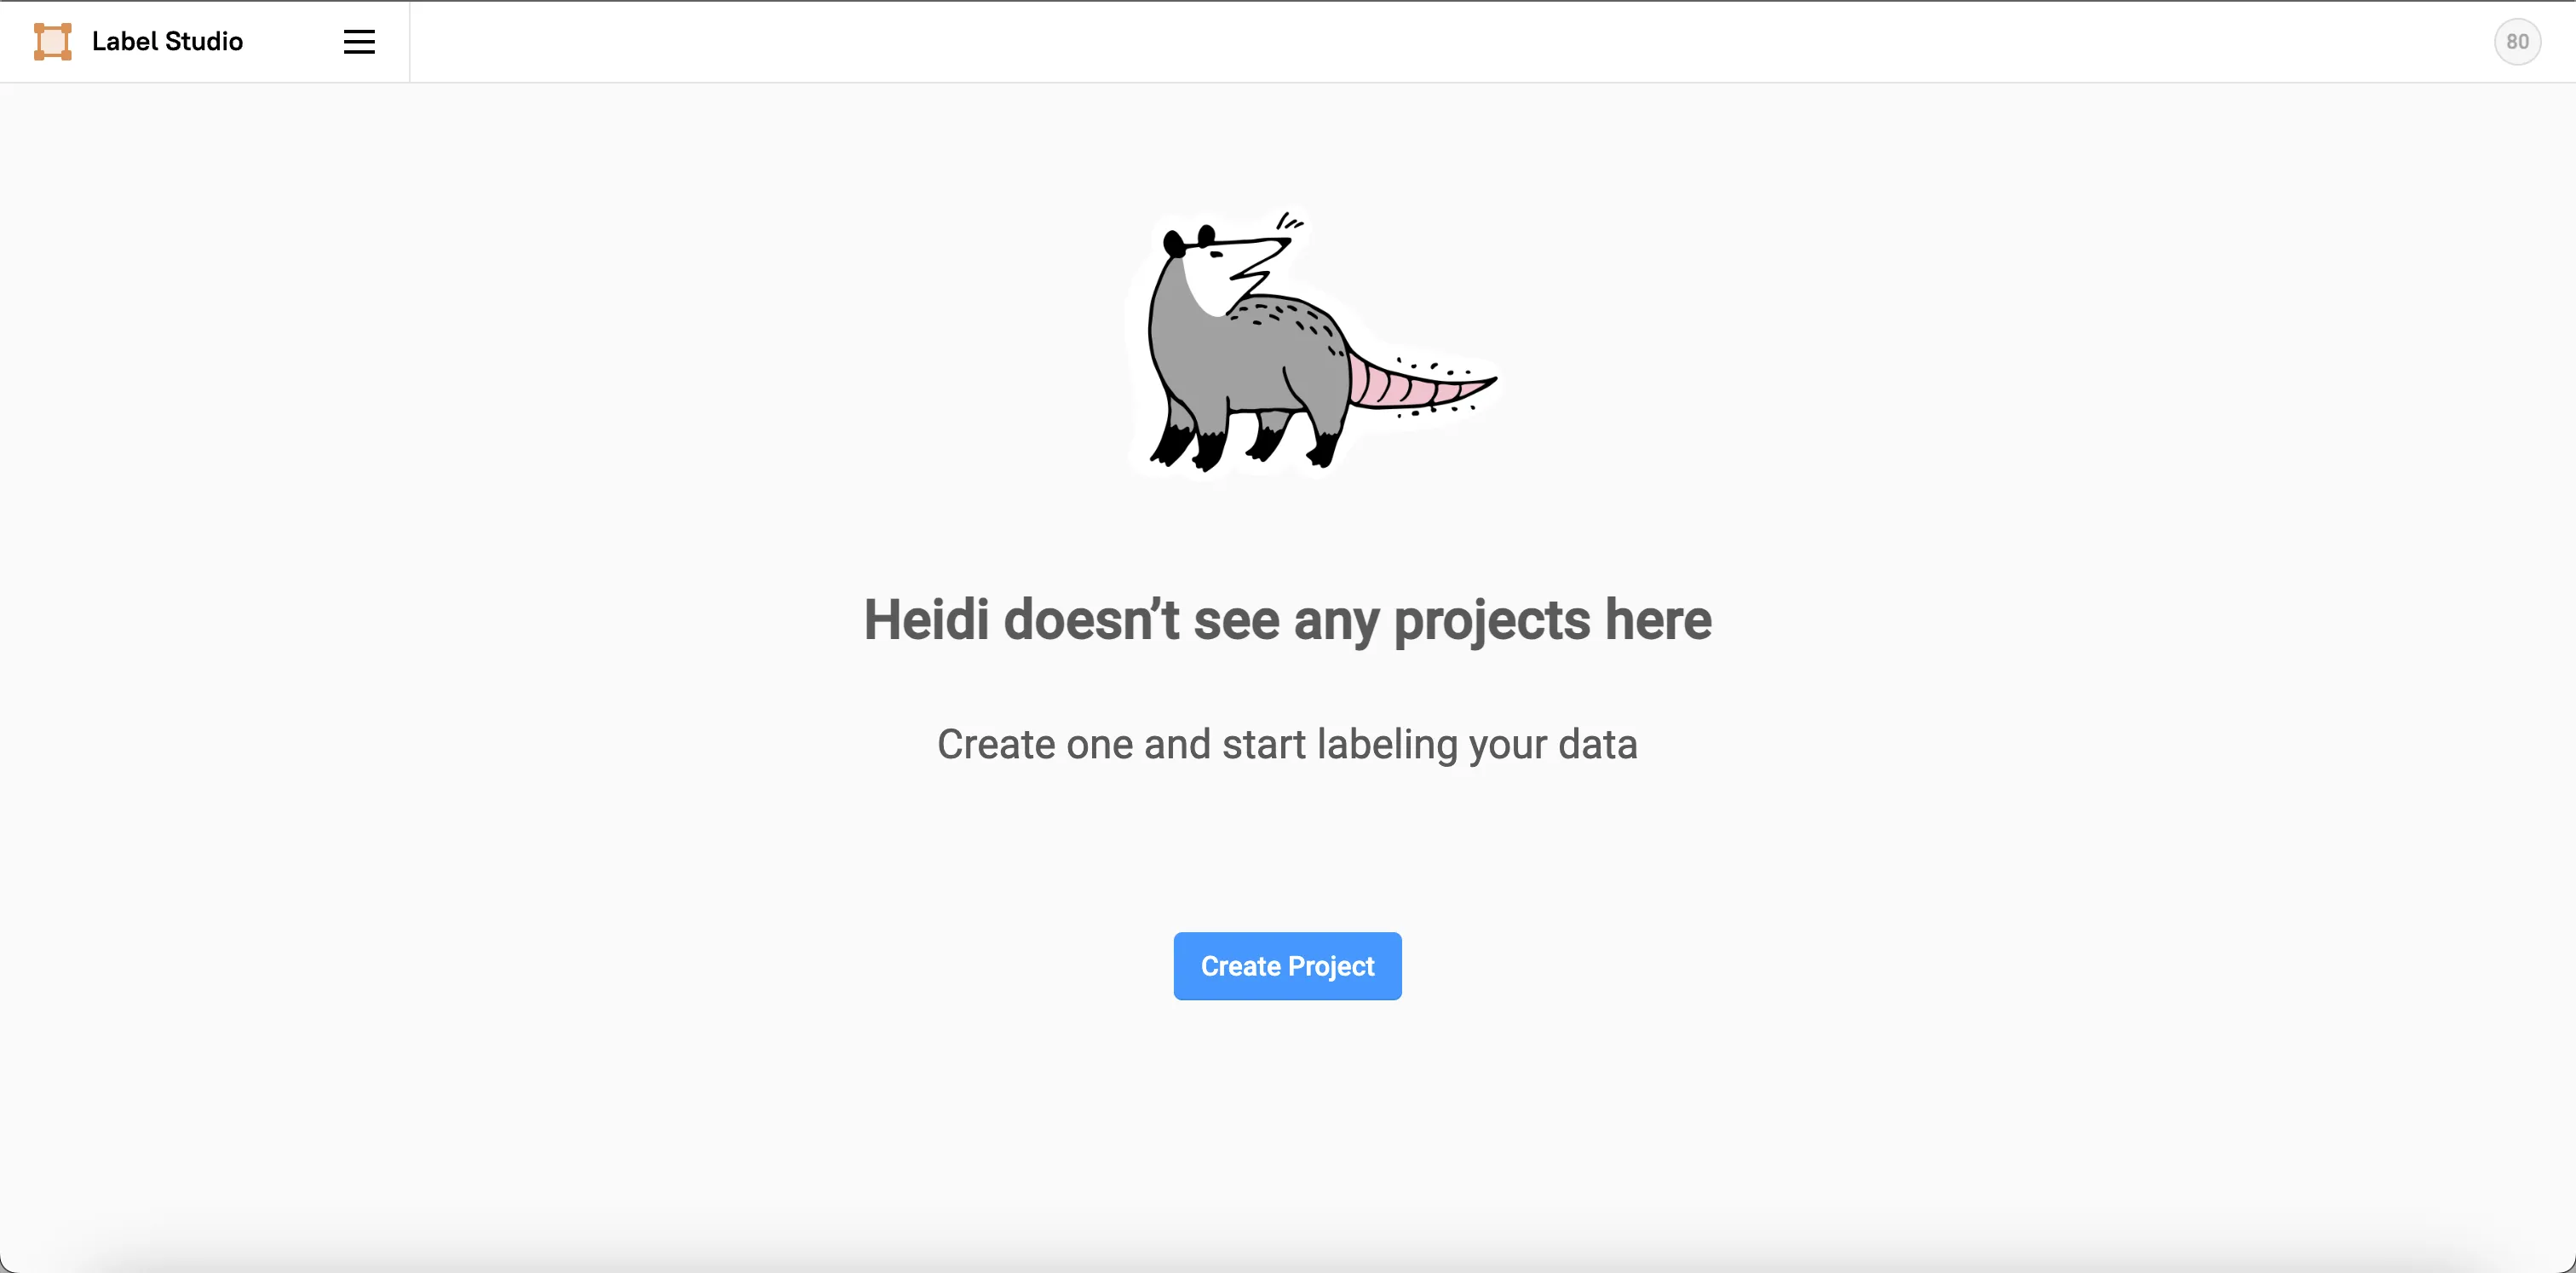
进入到主页,因为目前还没有项目,所以是空白的,我们点击Create Project
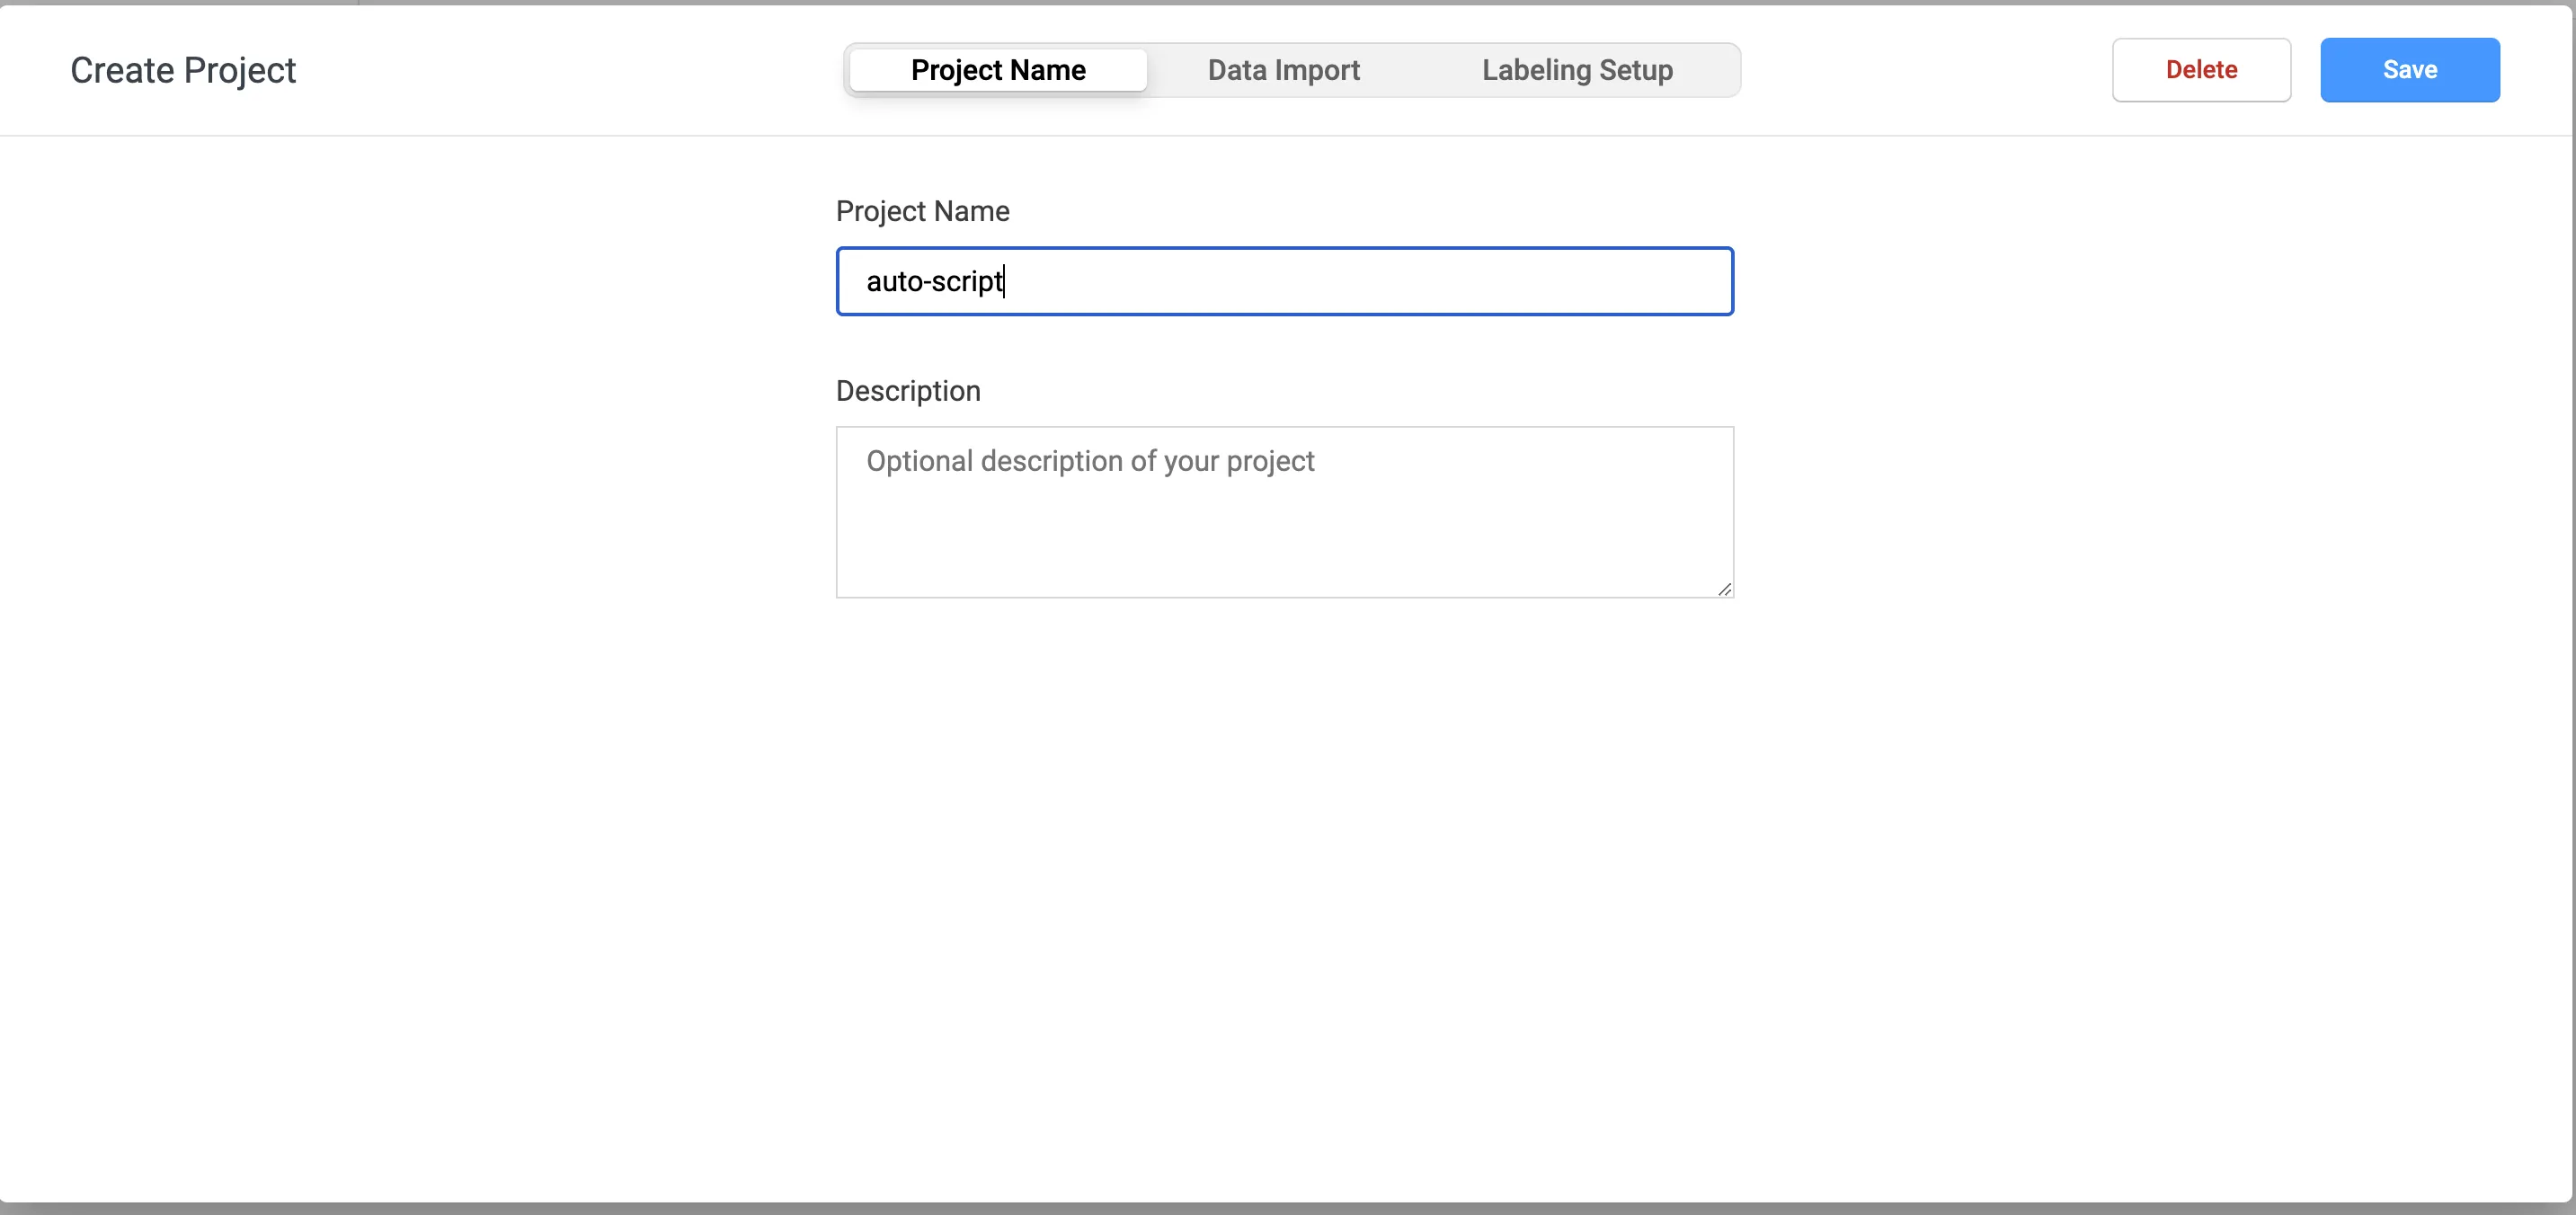
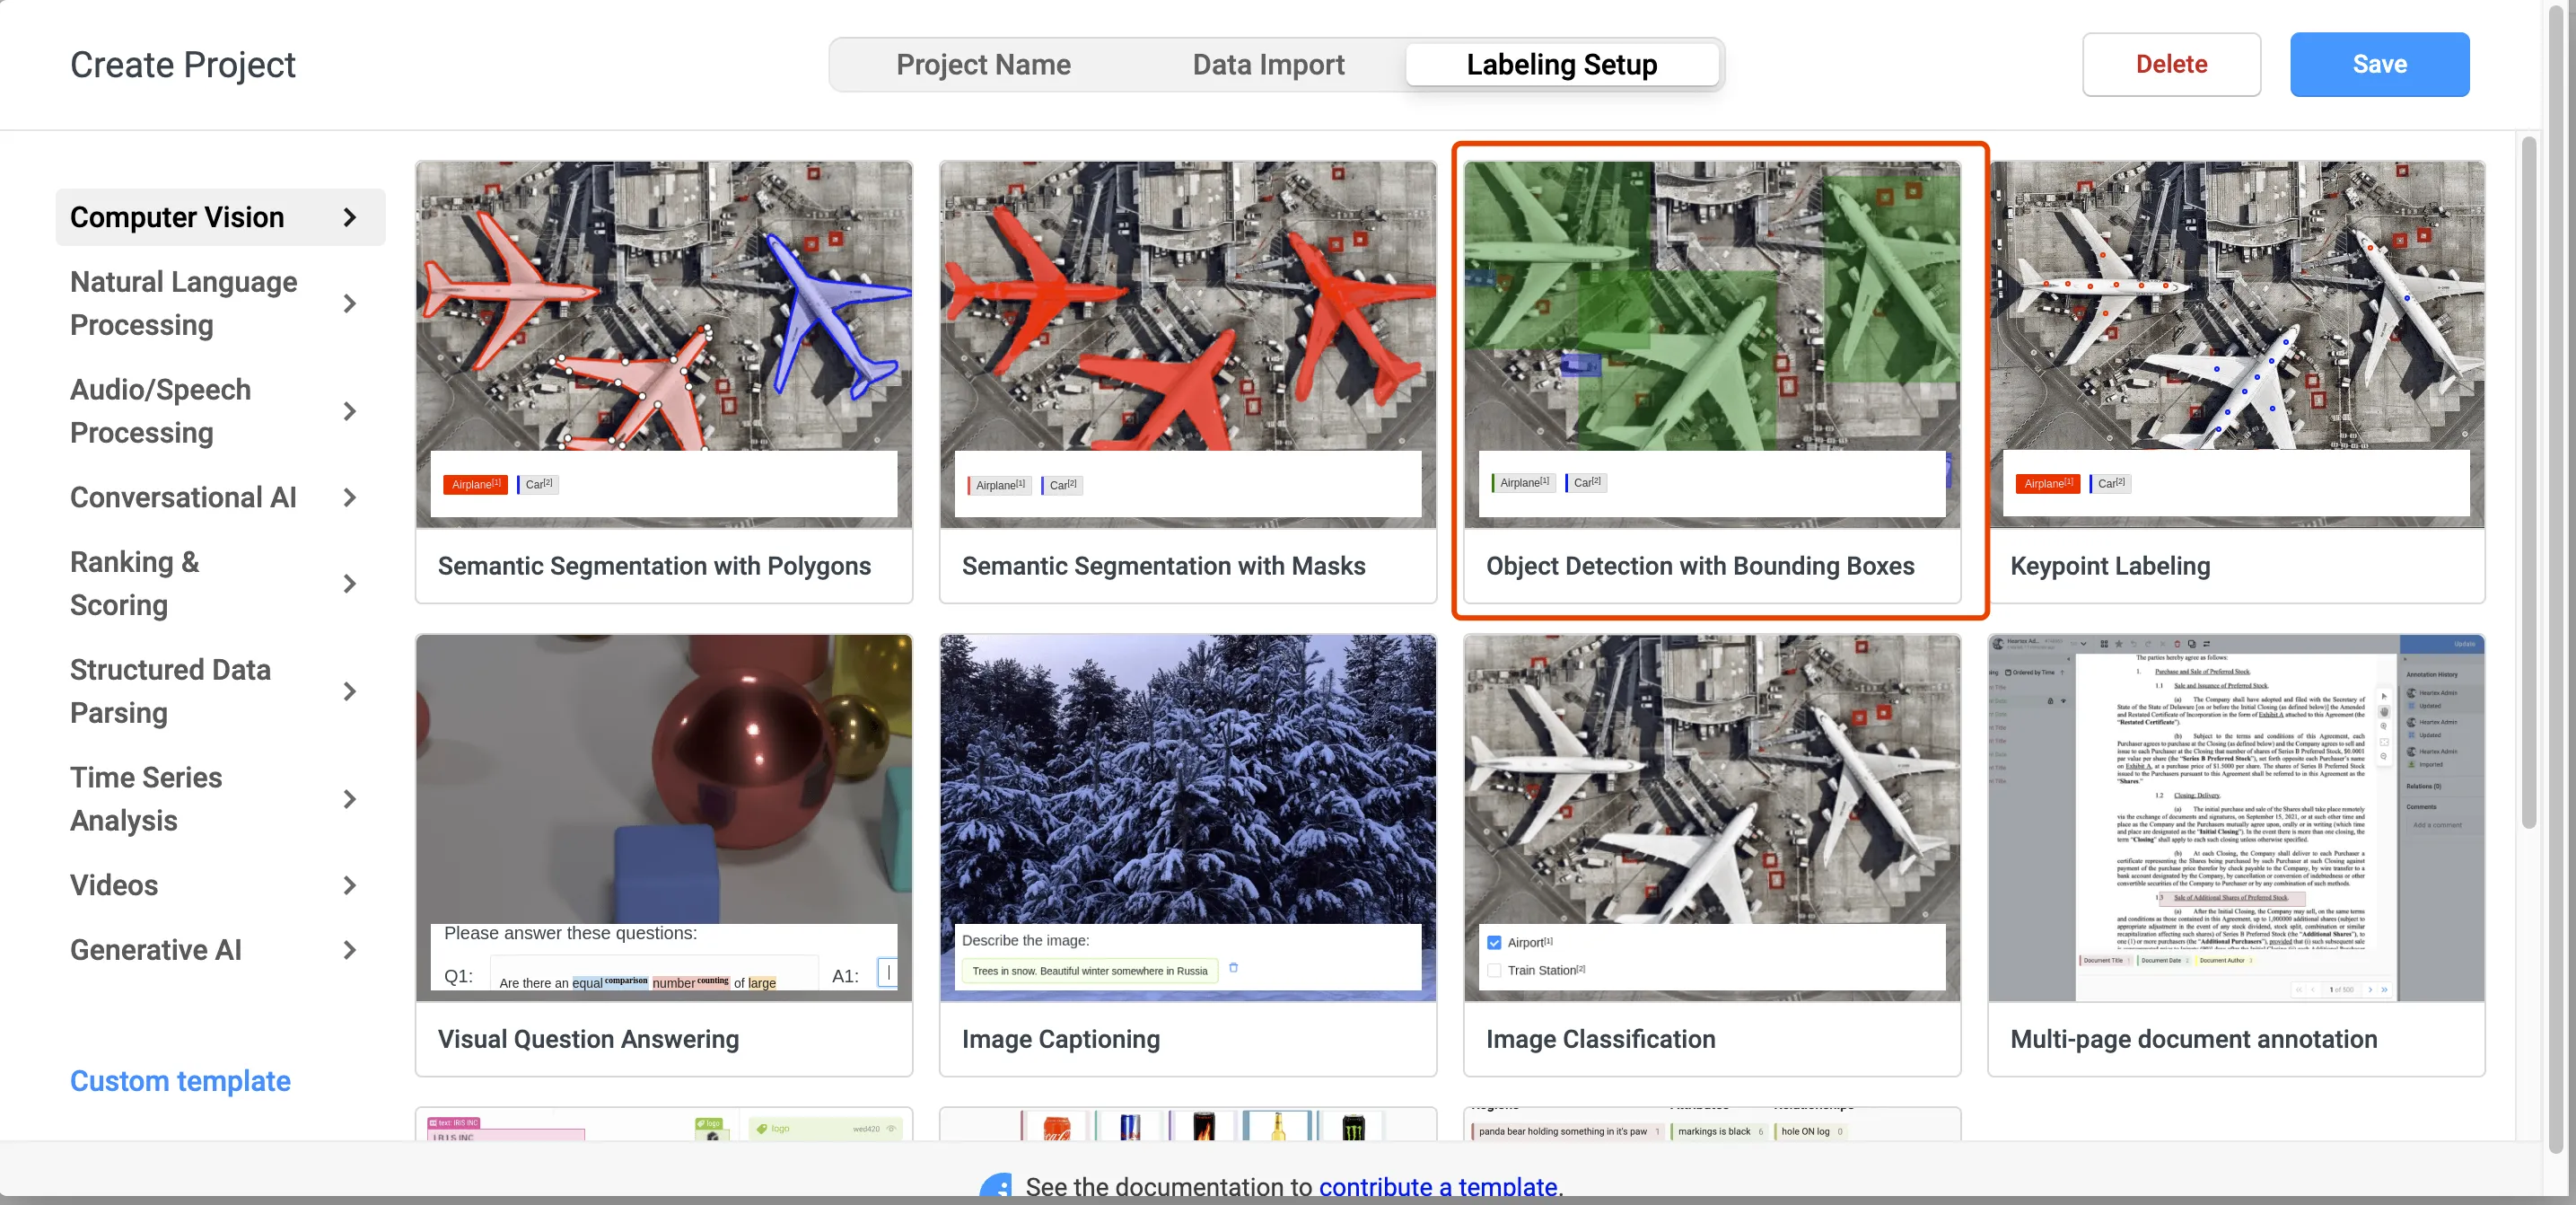
 在第一页,填写项目的名称和描述,然后第二页是导入数据,可以暂时先不导入,第三页是选择项目模版,因为是物体识别项目,所以我们选中
Bounding Boxes,然后选择完成后,点击Sava
导入数据
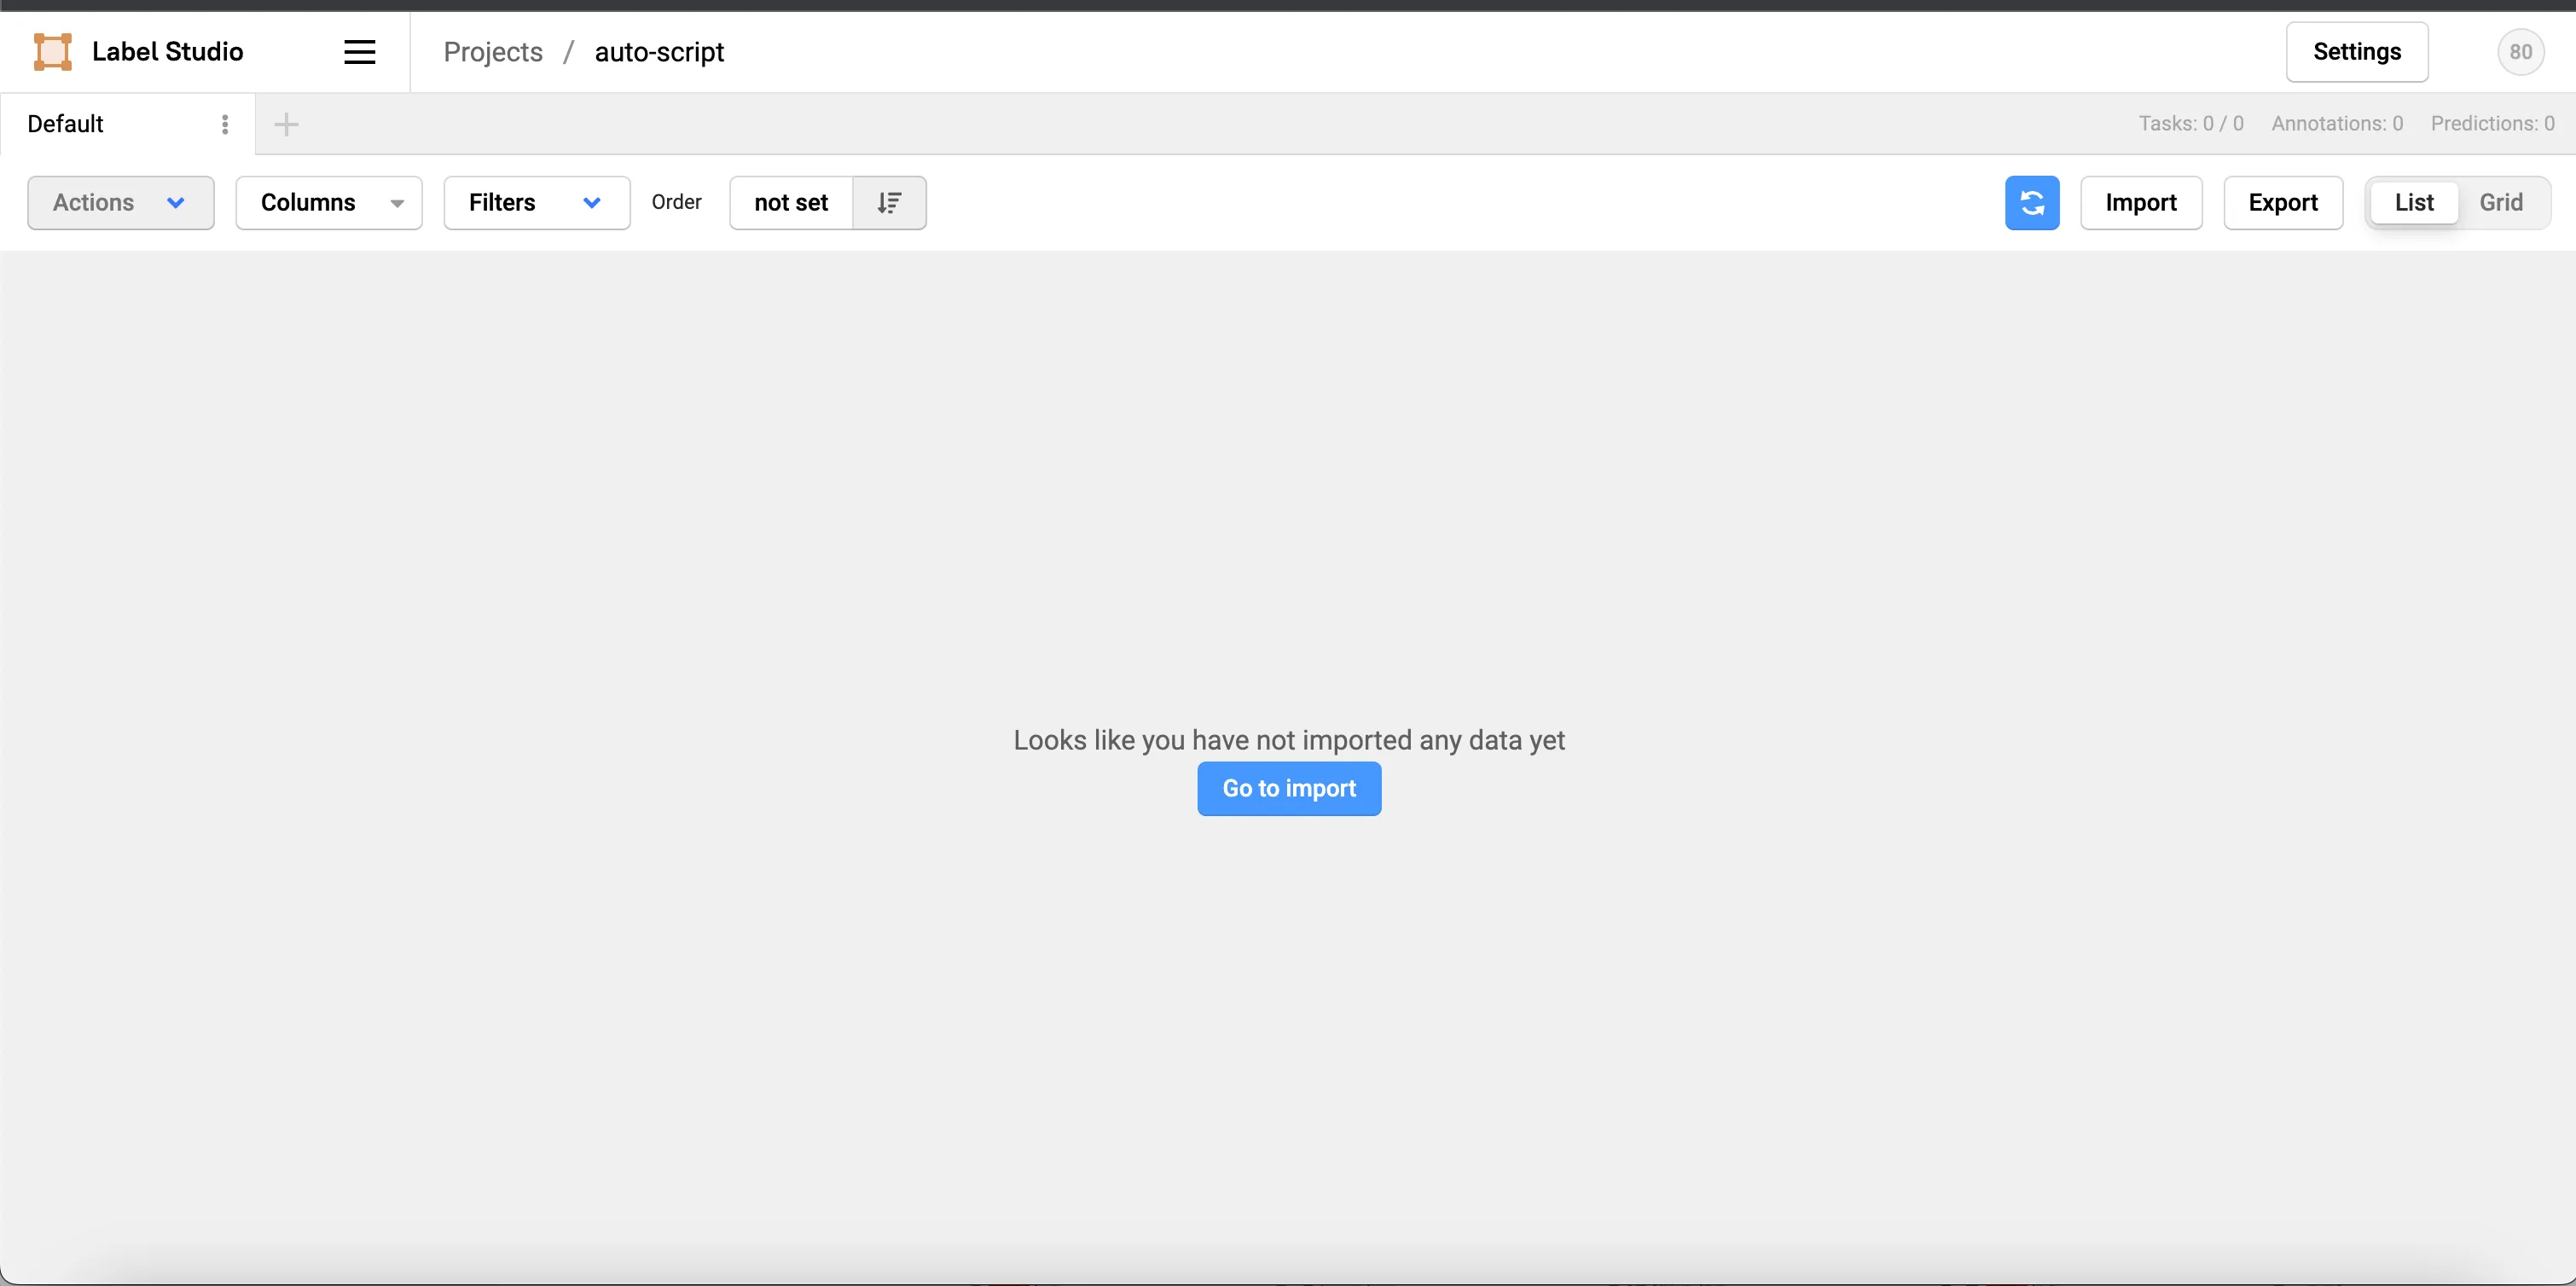
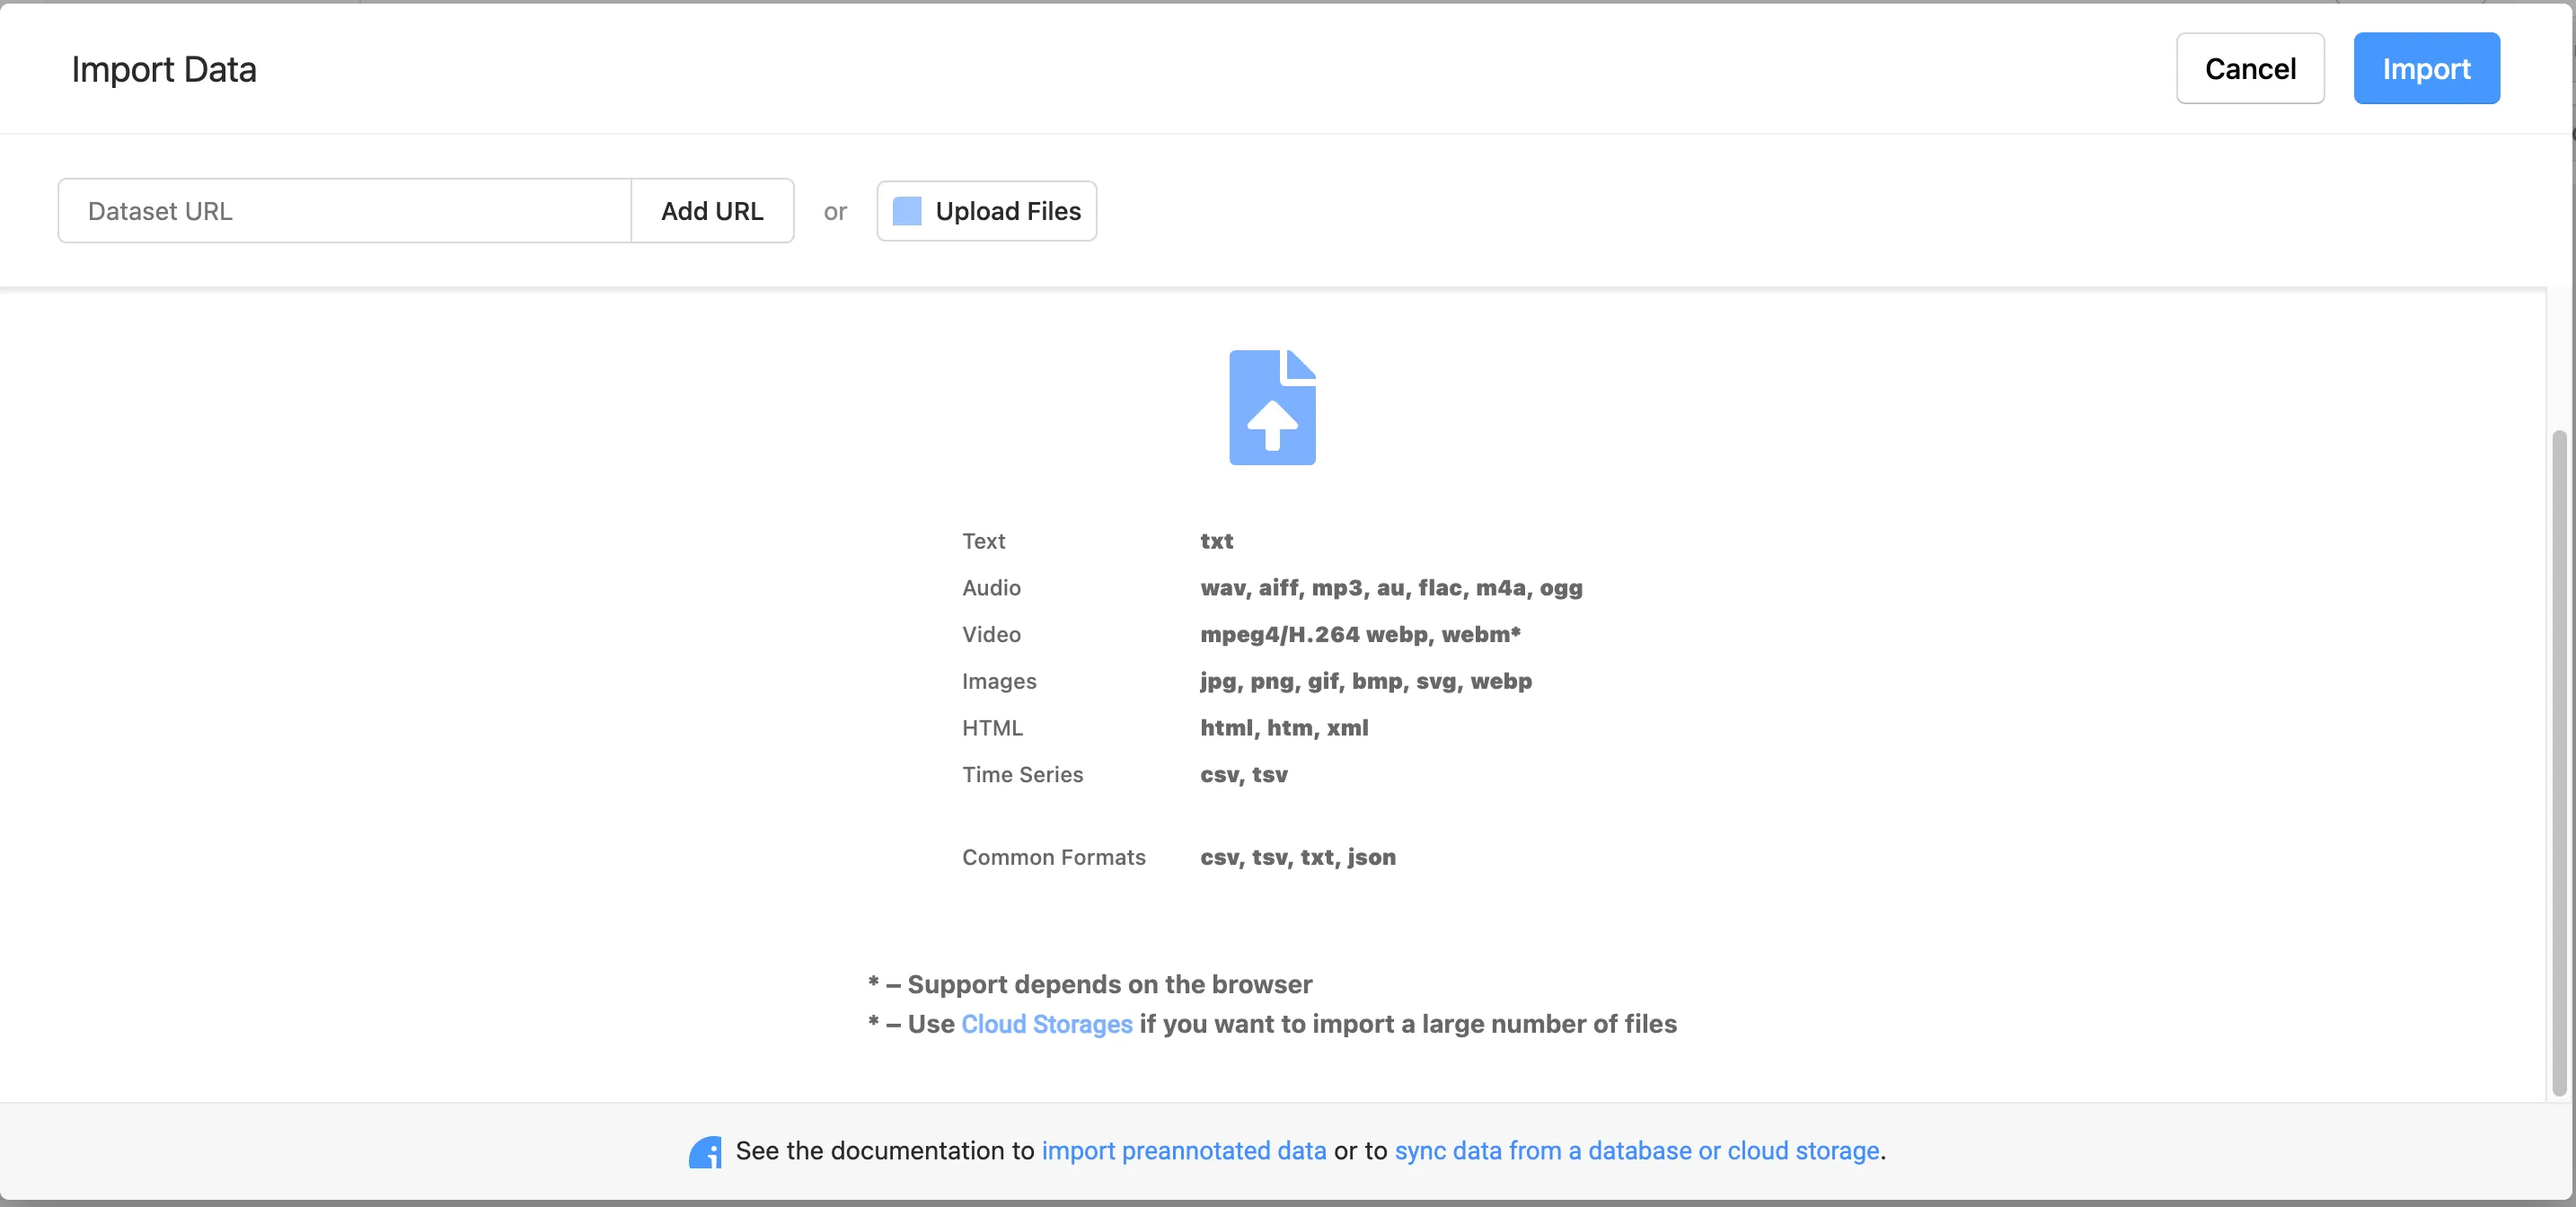
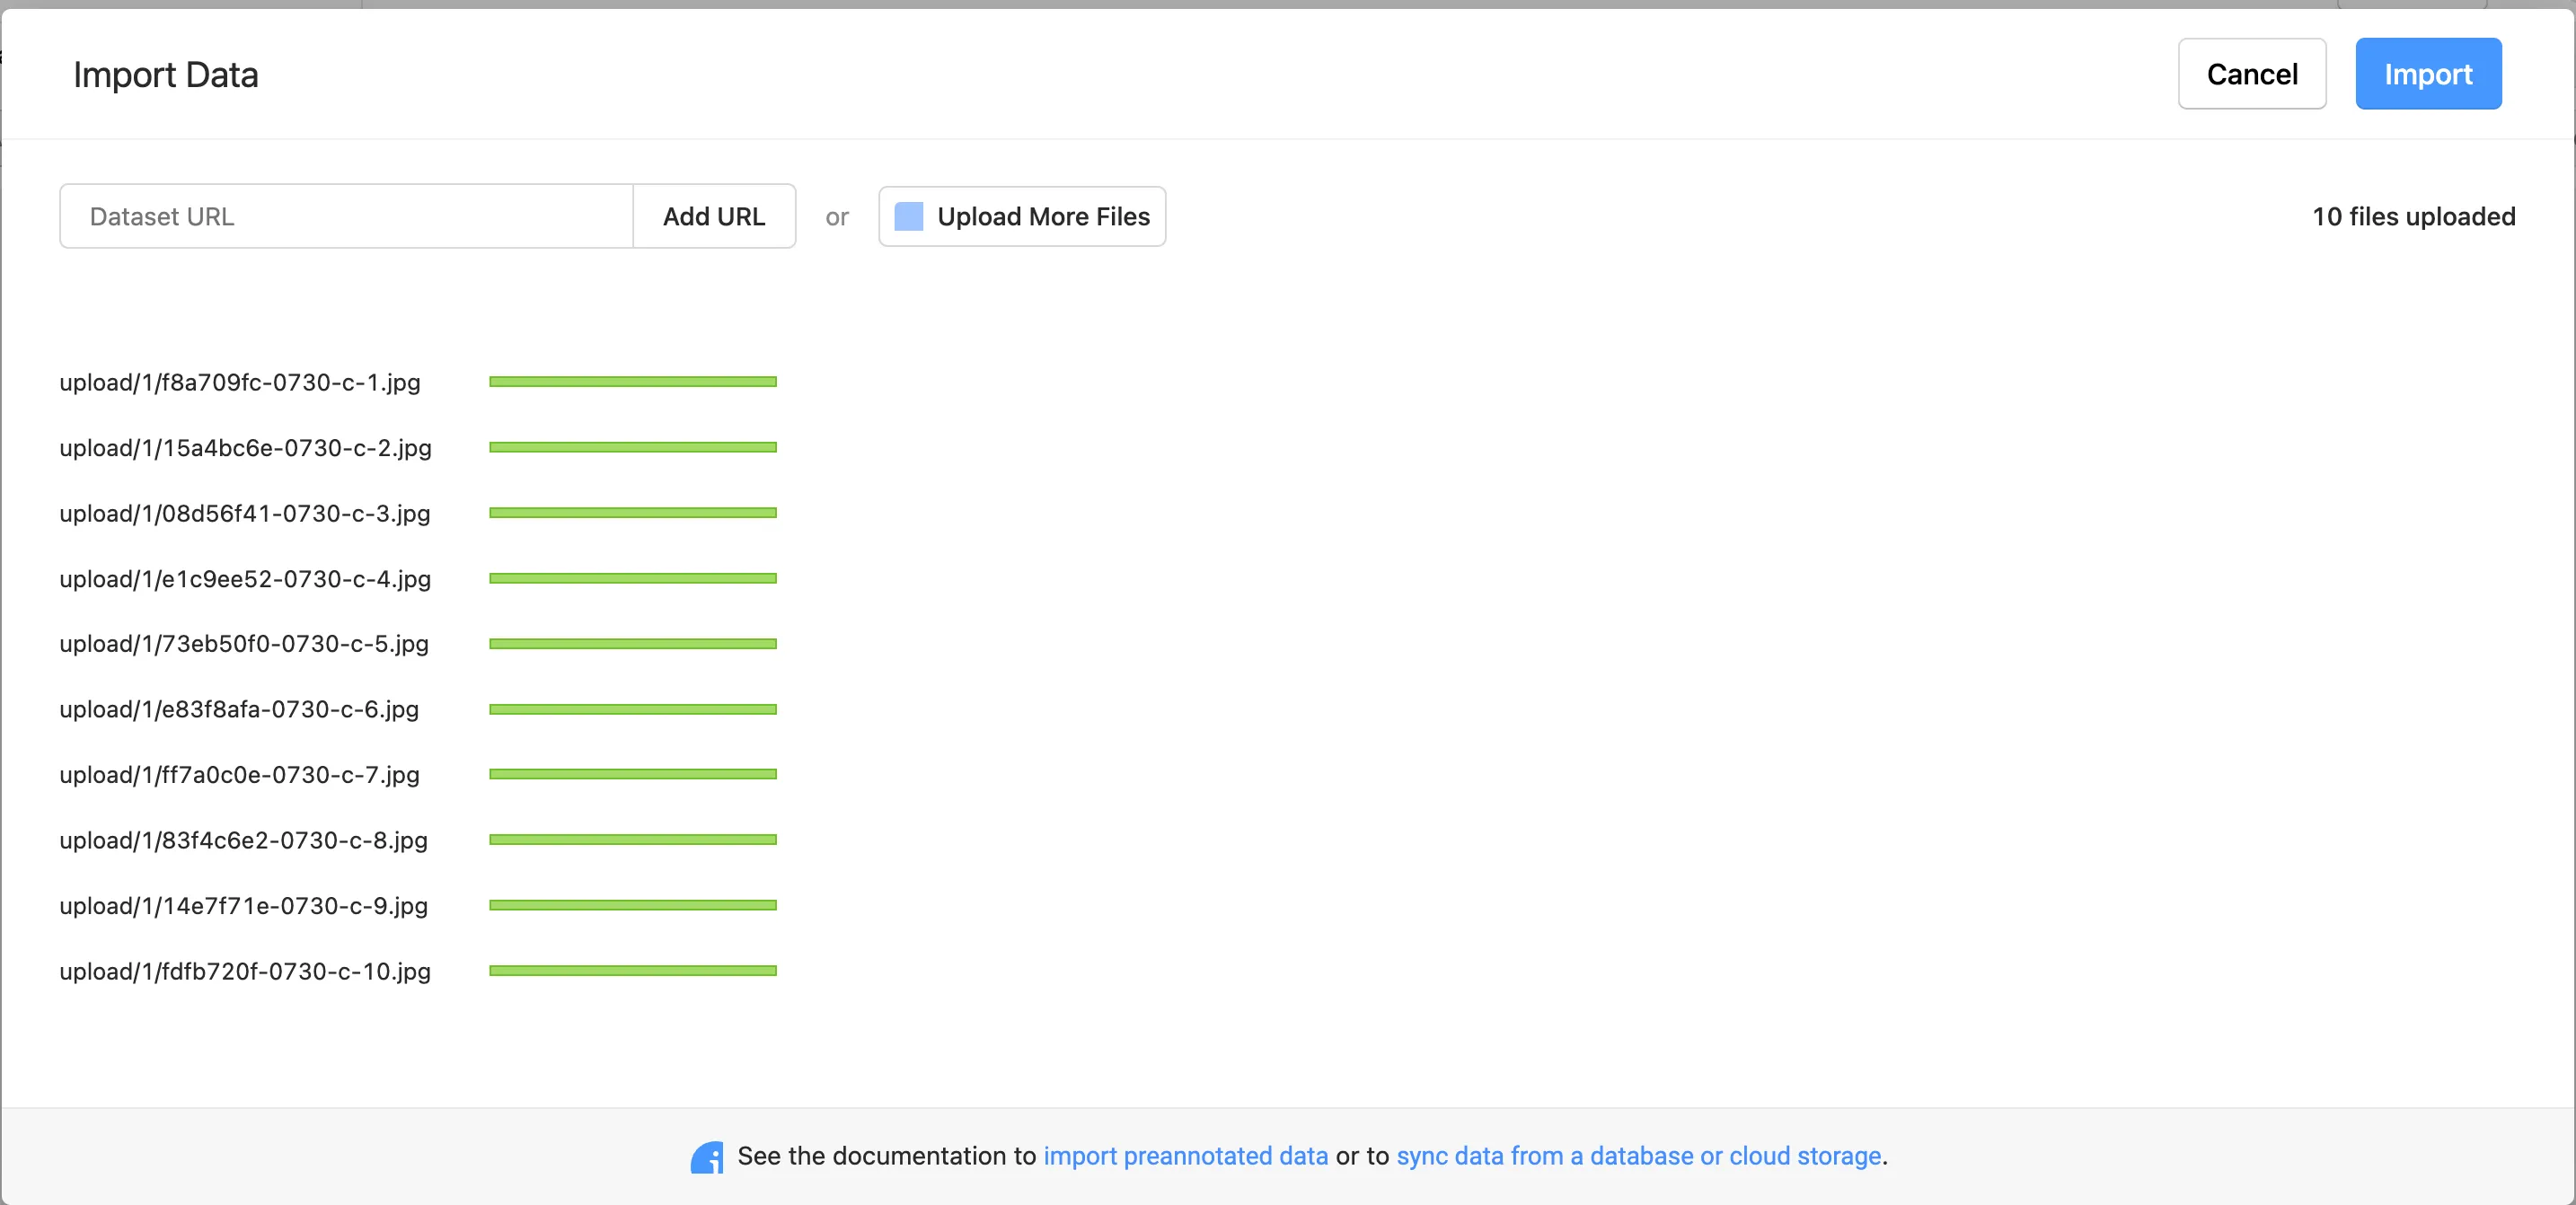
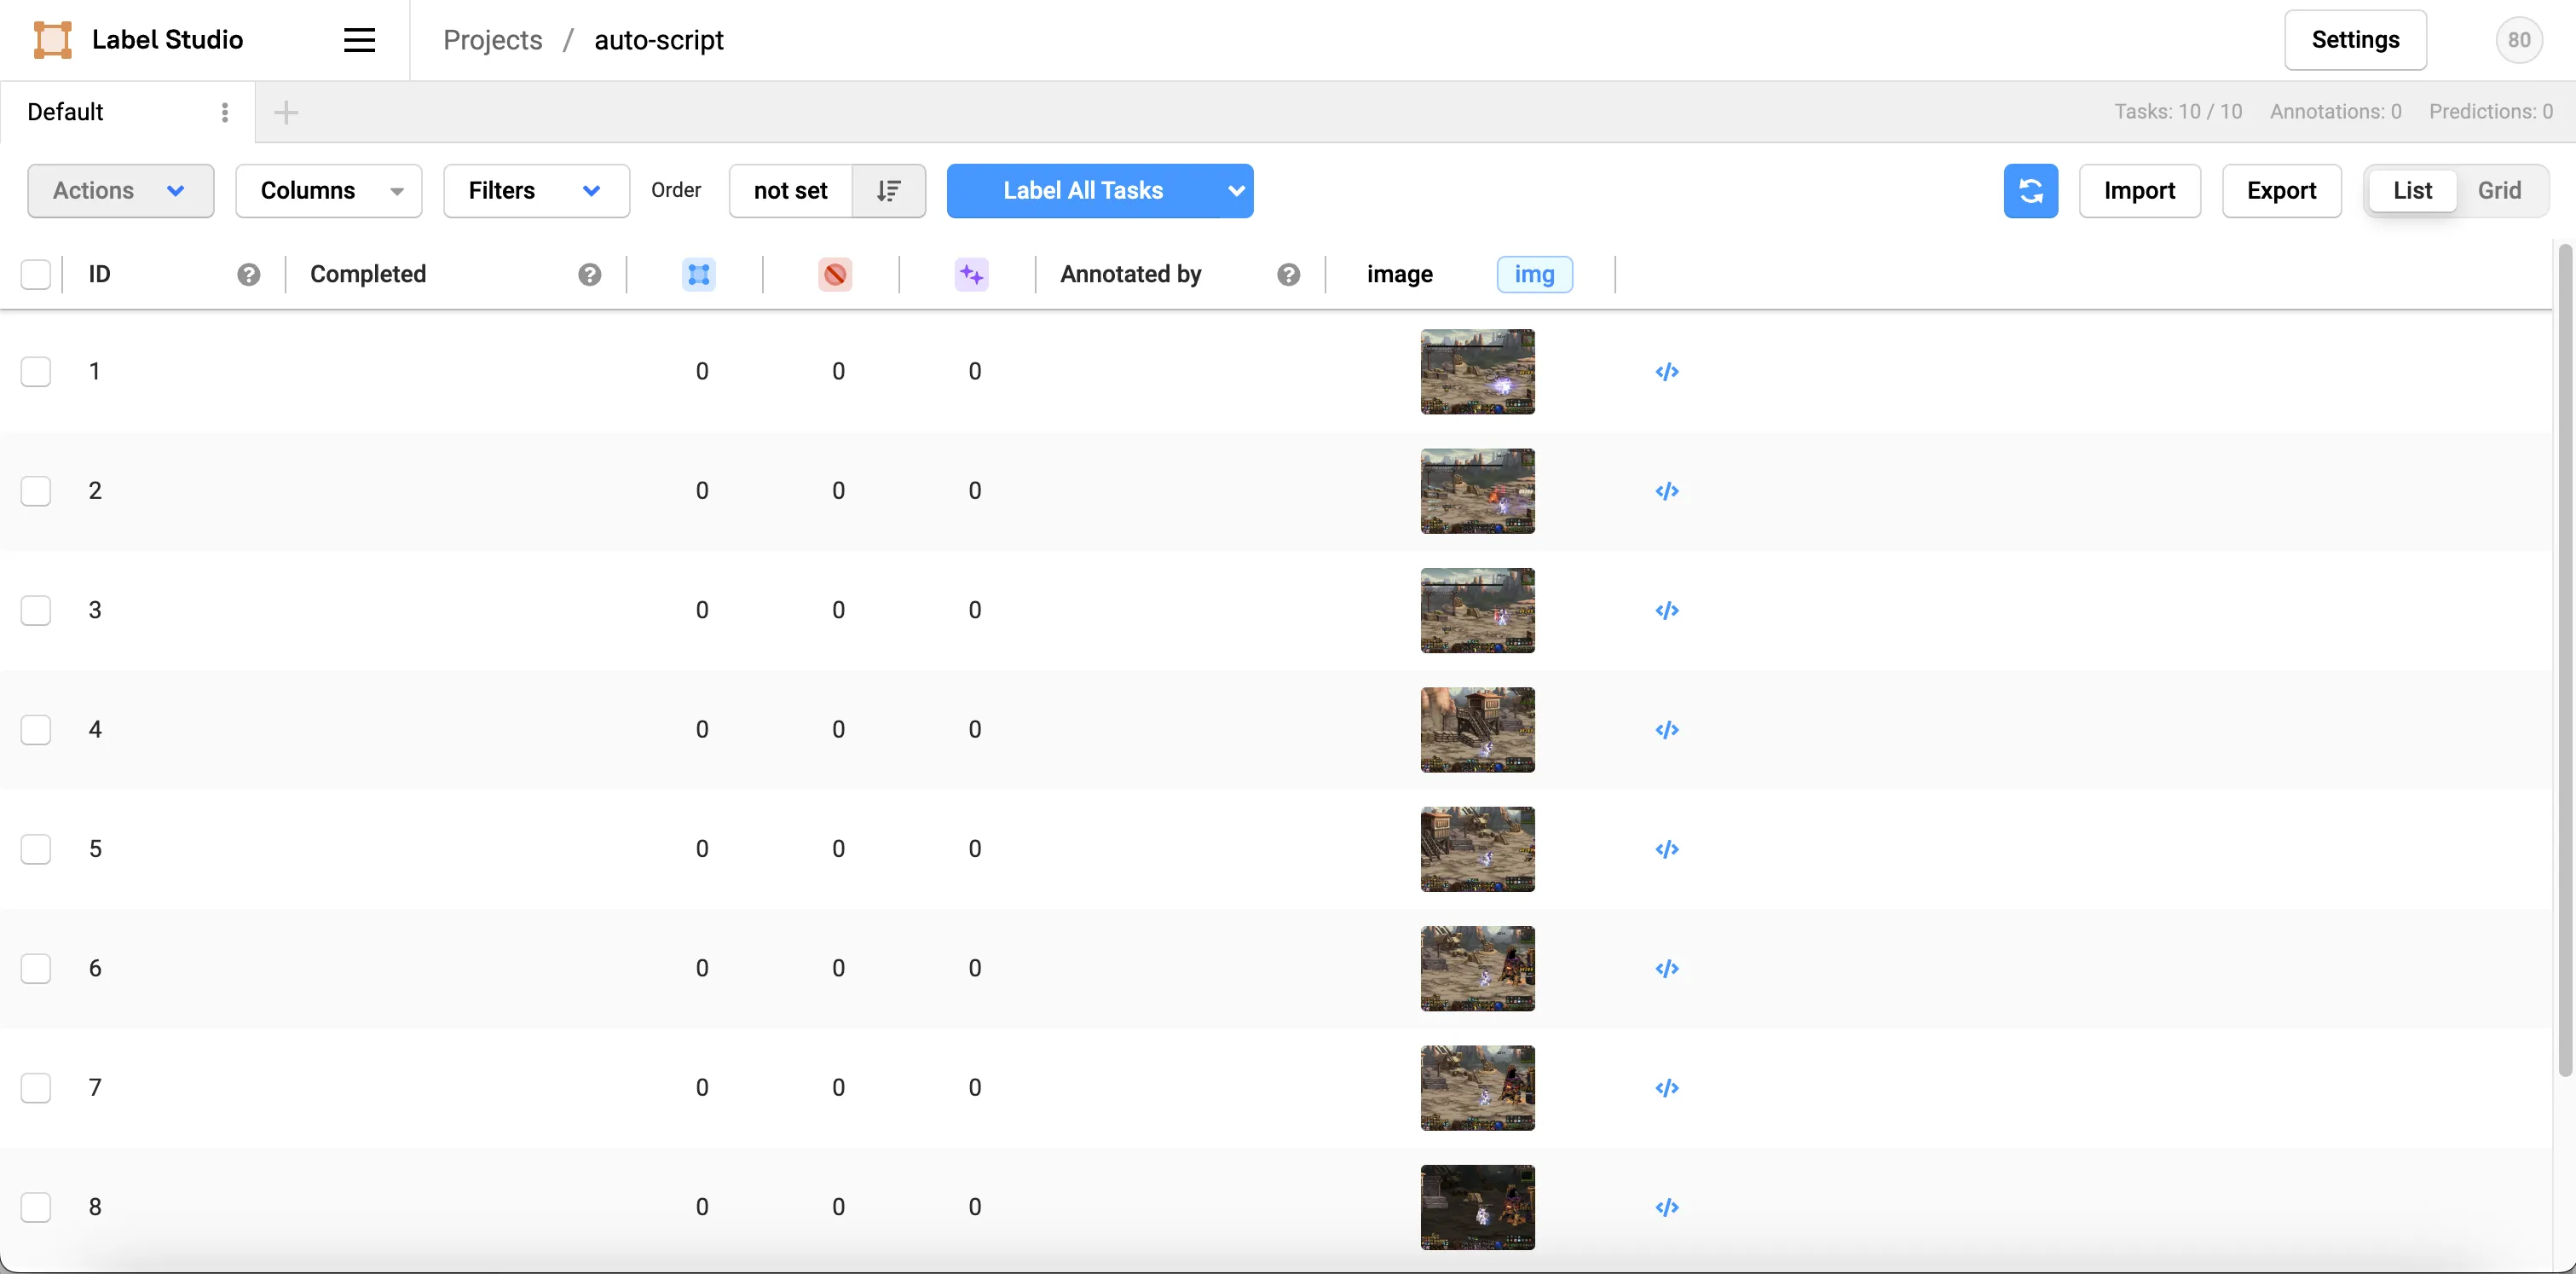
进入到项目主页,点击Import导入图片,
标签设置
在标记图片之前,我们需要先录入标签,点击右上角的Settings ,然后点击Labeling Interface,在Add labels names 中添加标签,一行一个
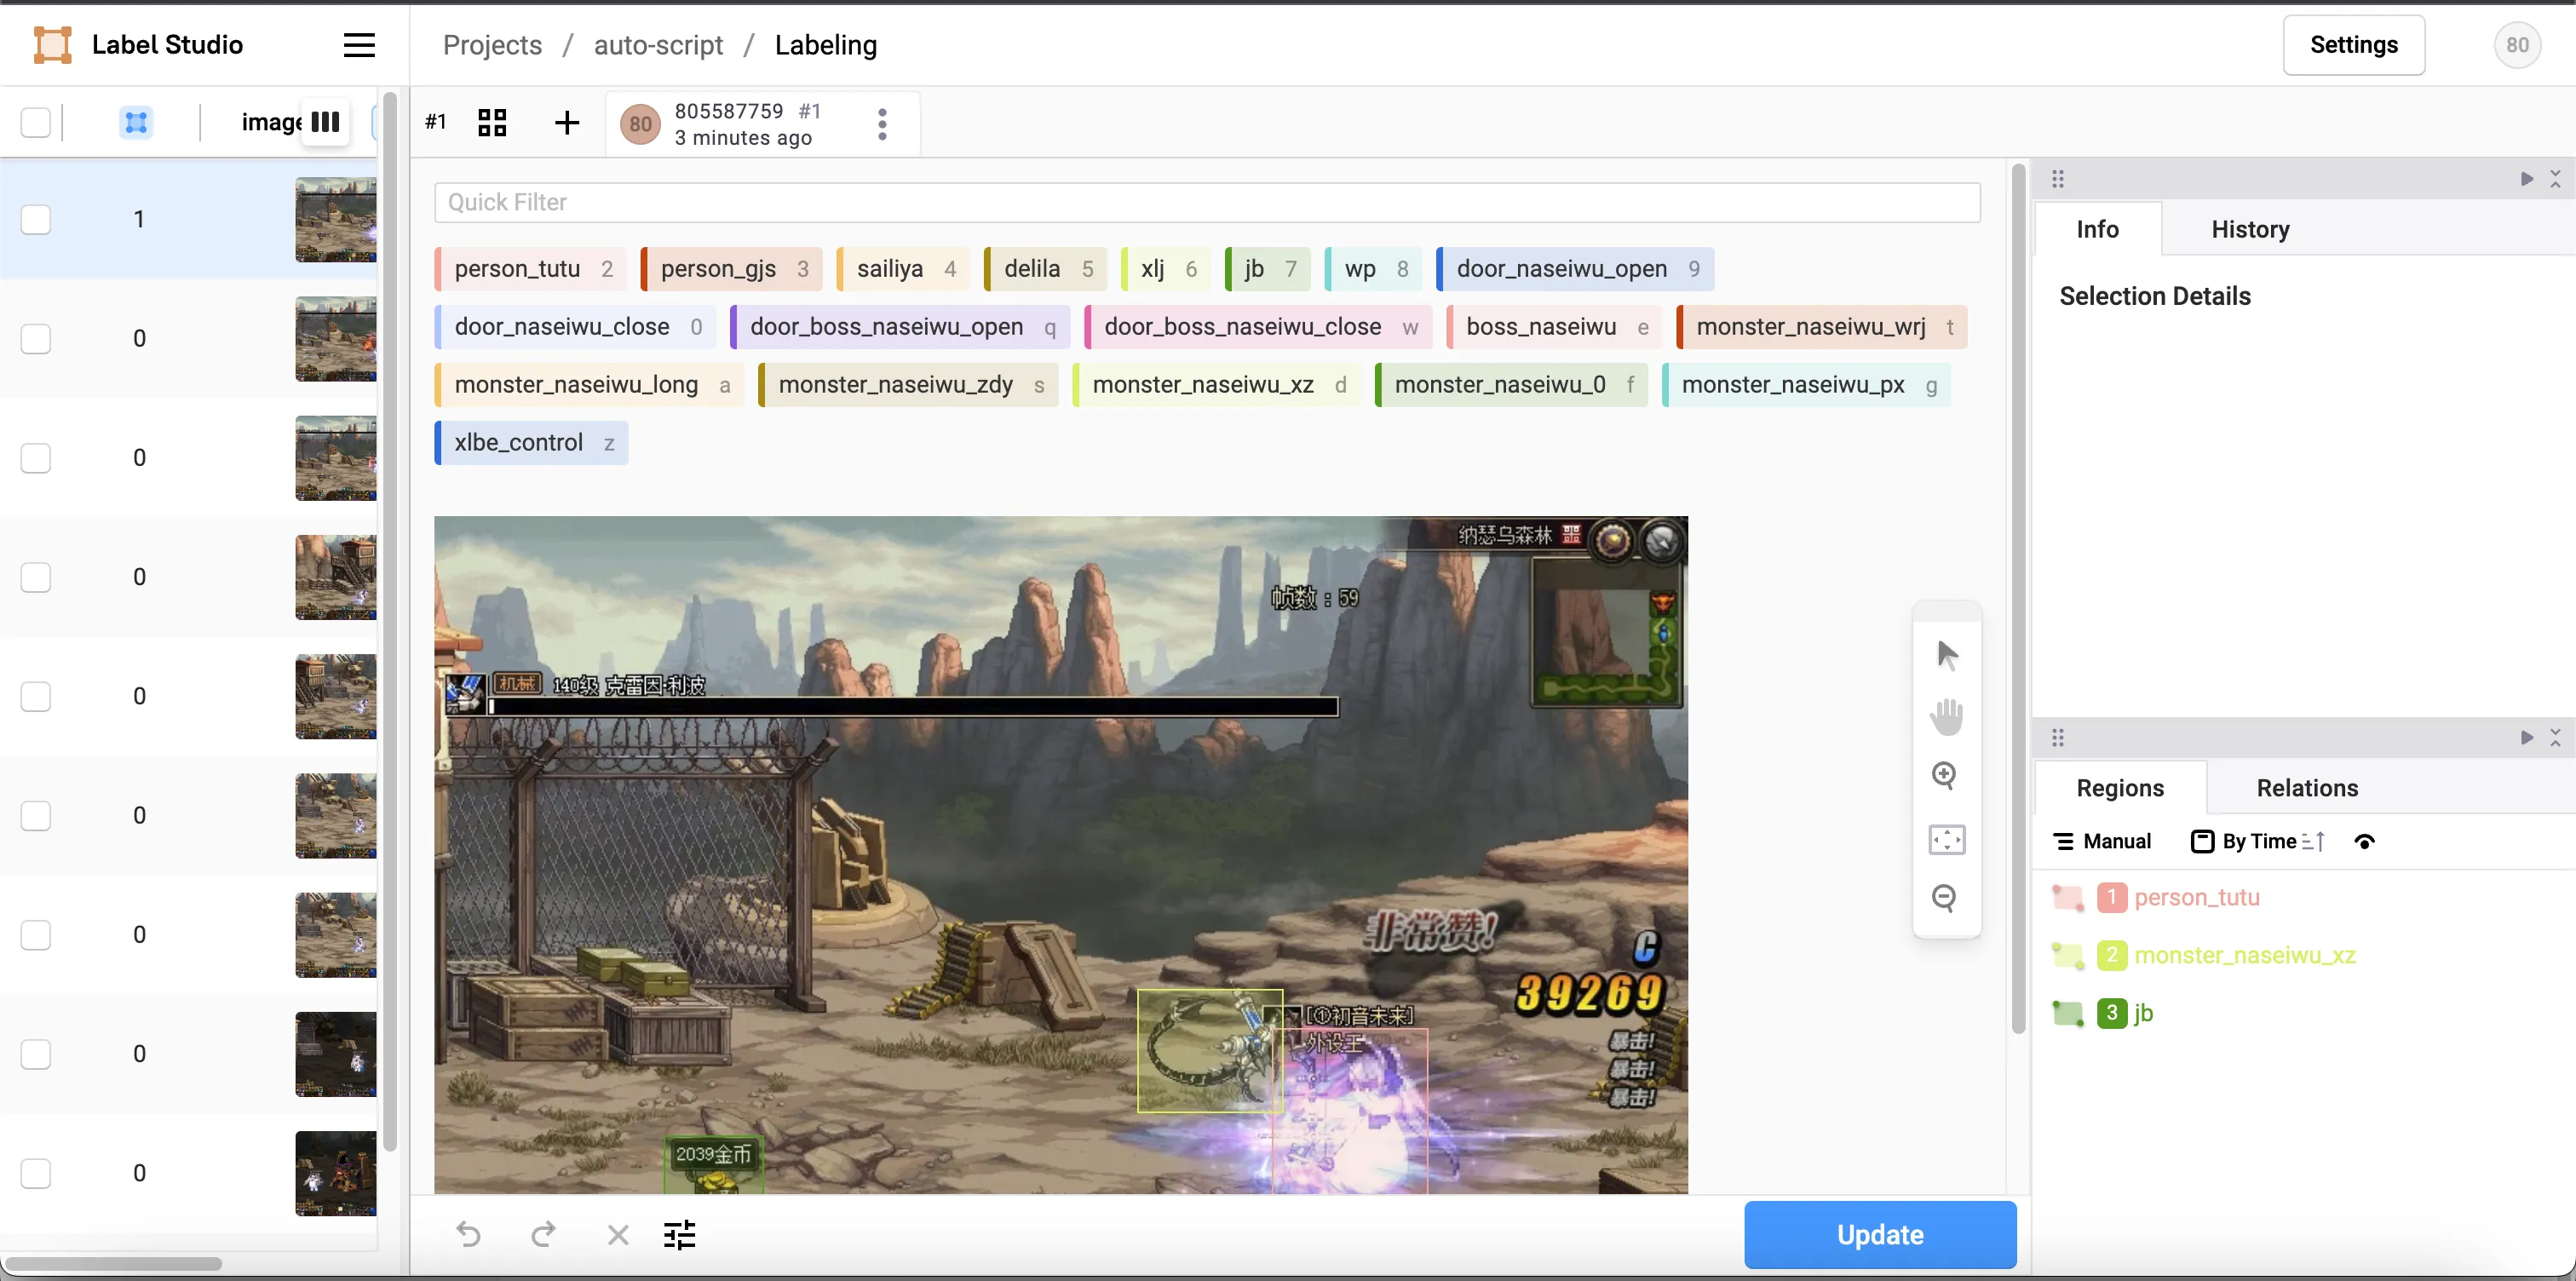
在项目主页,点击第一个图片,开始标记,标记完成后,点击submit提交
导出数据
点击右上角的Export,选择YOLO,则可以导出YOLO所需要的数据集
编写YOLO推理后端
安装Label-studio ML SDK
shellpip install -U label-studio-ml -i https://mirrors.aliyun.com/pypi/simple/
安装一些其他依赖
pip install redis re ultralytics -i https://mirrors.aliyun.com/pypi/simple/
编写model推理文件
pythonimport logging

import cv2
from label_studio_ml.model import LabelStudioMLBase
from label_studio_ml.utils import get_image_size, \
    get_single_tag_keys, DATA_UNDEFINED_NAME
from ultralytics import YOLO

logger = logging.getLogger(__name__)


class YOLOMLBase(LabelStudioMLBase):

    def __init__(self,score_threshold=0.3, **kwargs):
        """
        :param kwargs: can contain endpoint_url in case of non amazon s3
        """
        super(YOLOMLBase, self).__init__(**kwargs)
        self.from_name, self.to_name, self.value, self.labels_in_config = get_single_tag_keys(
            self.parsed_label_config, 'RectangleLabels', 'Image')
        self.labels_in_config = set(self.labels_in_config)
        self.score_thresh = score_threshold
        self.model = YOLO('best.pt')

    def _inference_detector(self, image_path):
        i = cv2.imread(image_path)
        return self.model(i)

    def _get_image_url(self, task):
        image_url = task['data'].get(self.value) or task['data'].get(DATA_UNDEFINED_NAME)
        return image_url

    def predict(self, tasks, **kwargs):
        assert len(tasks) == 1
        task = tasks[0]

        image_url = self._get_image_url(task)
        # image_path = image_url
        image_path = self.get_local_path(image_url, "/Users/chenchuan/mydata/media")

        model_results = self._inference_detector(image_path)
        results = []
        all_scores = []
        img_width, img_height = get_image_size(image_path)
        for boex in model_results[0].boxes:
            output_label = model_results[0].names[int(boex.cls)]
            if output_label not in self.labels_in_config:
                print(output_label + ' label not found in project config.')
            x, y, w, h = boex.xywh.tolist()[0][:4]
            score = float(boex.conf)
            if score < self.score_thresh:
                continue
            results.append({
                'from_name': self.from_name,
                'to_name': self.to_name,
                'type': 'rectanglelabels',
                'value': {
                    'rectanglelabels': [output_label],
                    'x': x / img_width * 100,
                    'y': y / img_height * 100,
                    'width': w / img_width * 100,
                    'height': h / img_height * 100
                },
                'score': score
            })
            all_scores.append(score)
        avg_score = sum(all_scores) / max(len(all_scores), 1)
        return [{
            'result': results,
            'score': avg_score
        }]
生成推理后端项目
在上述model.py文件中执行下面命令,生成项目
label-studio-ml init yolo_ml_backend
如果执行成功,在当前目录下,会创建一个yolo_ml_backend文件夹,此时的文件结构如下
shell├── best.pt
├── model.py
└── yolo_ml_backend
    ├── Dockerfile
    ├── README.md
    ├── _wsgi.py
    ├── docker-compose.yml
    ├── model.py
    └── requirements.txt
best.pt是推理模型
执行
shelllabel-studio-ml start ./yolo_ml_backend
执行成功后,终端会打印后端地址,将地址填写到下图处即可

此时再打开标注图片时,会先通过推理后端进行预测,我们就只需要进行调整即可了。
本文作者:chenchuan
本文链接:
版权声明:本博客所有文章除特别声明外,均采用 BY-NC-SA 许可协议。转载请注明出处!